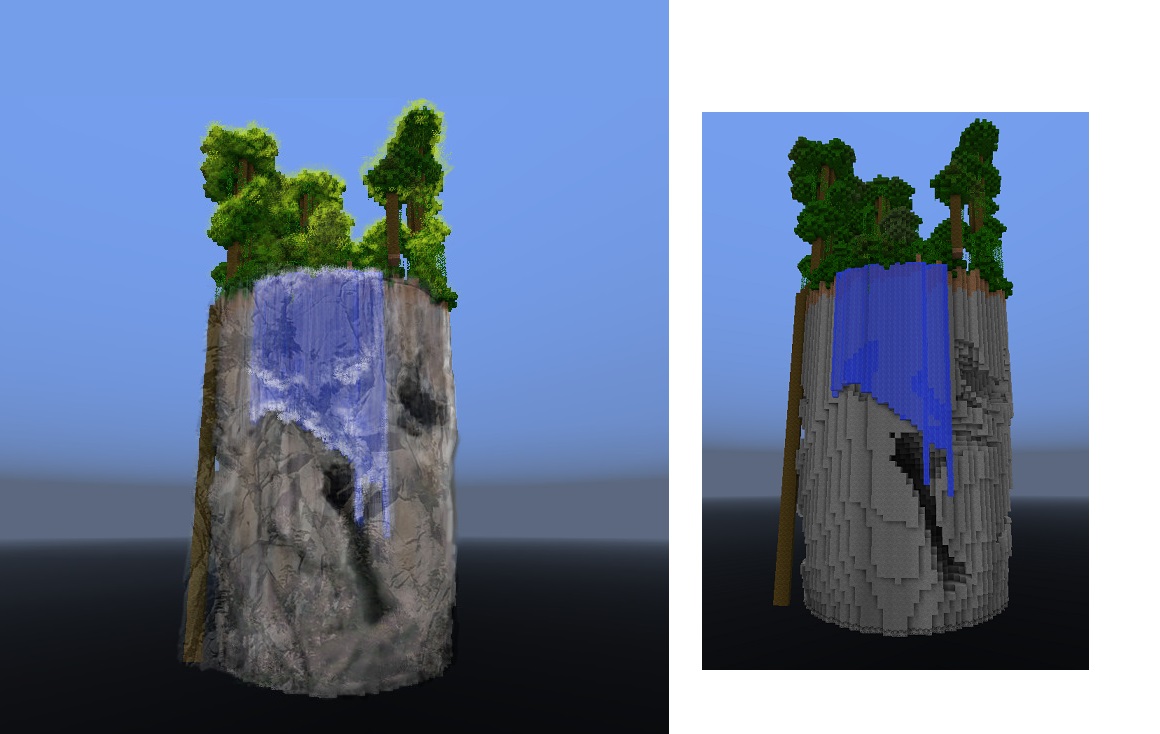
Here’s my first project in GIMP! I wanted to take a Minecraft screenshot and make it look a little more realistic.
It was a frustrating afternoon’s work. I’m not sure if it was GIMP that was the problem, or if it was not communicating well with my graphics tablet! I would try to move Layer 1, and Layer 2 would move instead (even though Layer 1 was selected). I had layers that disappeared for no apparent reason, and layers that became permanently translucent even though I hadn’t intended to do that. In general, working with the layers was very awkward, compared to my familiar graphics software Corel Painter Essentials.
I did like the different kinds of brushes. There were a lot to choose from and they were actually easier to work with than the brushes in Painter Essentials. I’m really glad that had I watched some of the instructional videos over at Lynda.com — those taught me some of the keyboard shortcuts. To change the brush size, instead of having to click your mouse into a TEENY TINY scroll bar, you can just type left bracket or right bracket.
Another tool that I liked that does not exist in Painter Essentials is “dodge / burn”. These words come from photography terminology, back in the old days when you developed photos in a darkroom using chemicals. In this case, “dodge” meant to take a given color and lighten it (add more white) and “burn” meant to take the color and darken it. This was really good for adding shading to the picture, without having to match the paint hues.
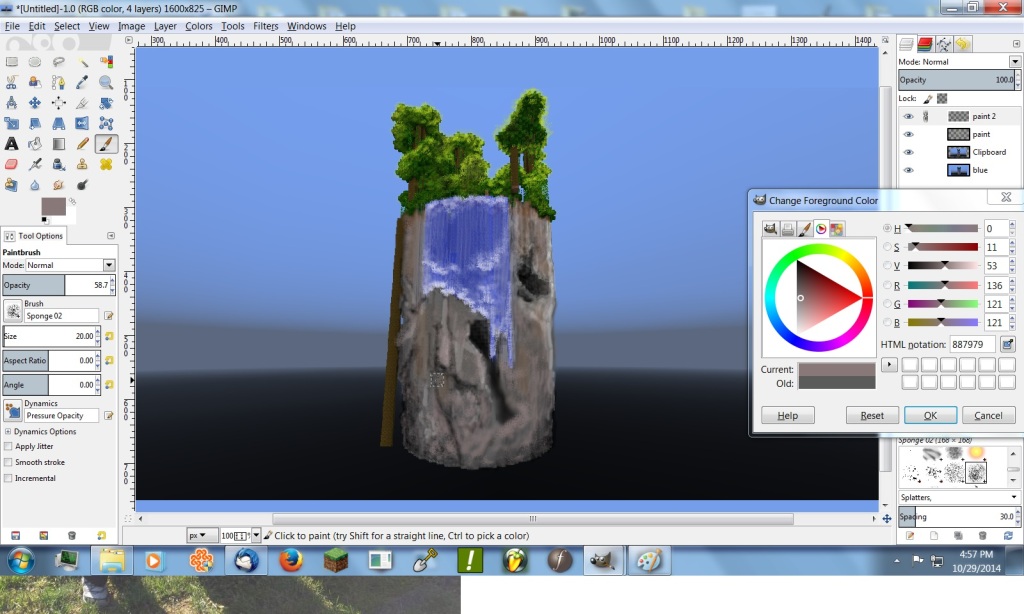
Here is what the GIMP interface looked like. Click the picture to enlarge!


